
The details of manufacturing inspections vary largely based on the industry, products produced, and even by production sites. However, the process is usually the same:
Below are some examples described to illustrate the wide variety of cases.
Machines and more complex products in general often consist of assembling parts from suppliers and a key part of the final product inspection is to identify defects and inform the responsible supplier. In this particular case, the status of the final product is the start of the inspection, each non-conformance is recorded with added evidence in the form of image or video. The machine, part number, project, and purchase order numbers are essential to identify the particular issue.
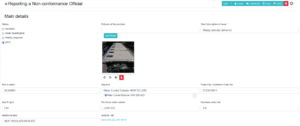
Once these have been identified the analysis and classification are done by categorizing the issue, defining who is responsible, the implications of the non-conformance, and the corrective actions to be taken.

In this case, a production line inspection is illustrated. The same factory contains many different product lines, and the items to inspect depend on what kind of drink is produced and how it is packaged. There is a large predefined checklist containing over a thousand checklist items, but only a subset of them is asked based on the type of production line.

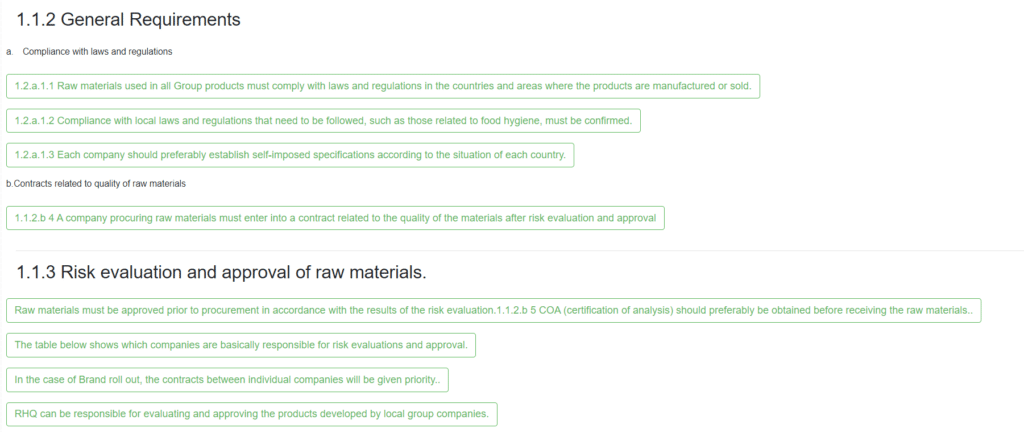
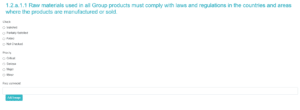
For each checklist item the questions to be answered are always the same:
Here we illustrate a simplified crispbread manufacturing inspection. Typically, several samples have to be recorded, including weight, and if already packaged the marked best before date. Depending on the type of bread there may be a valid range of weights defined. Furthermore, a summary of nonconformant weights may have to be reported daily. Also, the summary of the results and who reported the results has to be recorded.
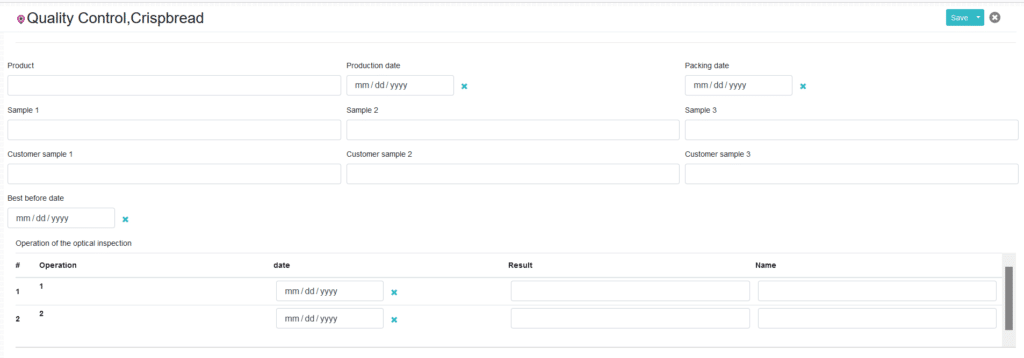
Specific to this type of product, sensory inspections for each sample need to be carefully recorded including descriptions and possible actions.

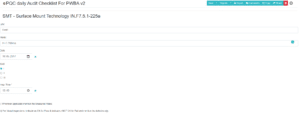
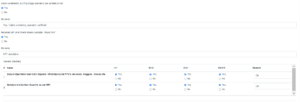
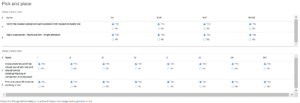
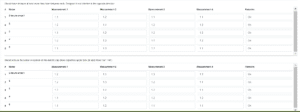
Electronics manufacturing is a complex process that requires a large number of detailed and regular inspections, producing a huge amount of data. In this case, the focus is on just collecting the data. The analysis and actions are done based on the overall analysis of the data and not on specific non-conformances found during data collection.
Below we show screenshots that are just a subset of one manufacturing inspection form. The point is to show that Poimapper can be used to collect large and complex sets of data effectively. The process is streamlined and the correctness and completeness of the data are ensured. The data may then be transferred to the desired statistical or visual analysis tool.



In summary, manufacturing inspections contains extreme variations in the type of inspections to be done, but the process is essentially the same: identify non-conformances, assign actions to responsible parties, summarise results. As follow-up ensure that actions are taken, identify root causes and achieve systematic quality improvements.
If you like to read more about how Poimapper is applied, click here!
Follow us on Facebook, Twitter, LinkedIn, Instagram and Youtube!